


Kitchen Zoning 101: How to Set Up Coffee, Baking & Snack Stations
August 5, 2026
Every kitchen has spots where traffic jams happen. Someone reaches for the coffee filters while another person digs through the same cabinet for baking soda, and the whole morning slows down.
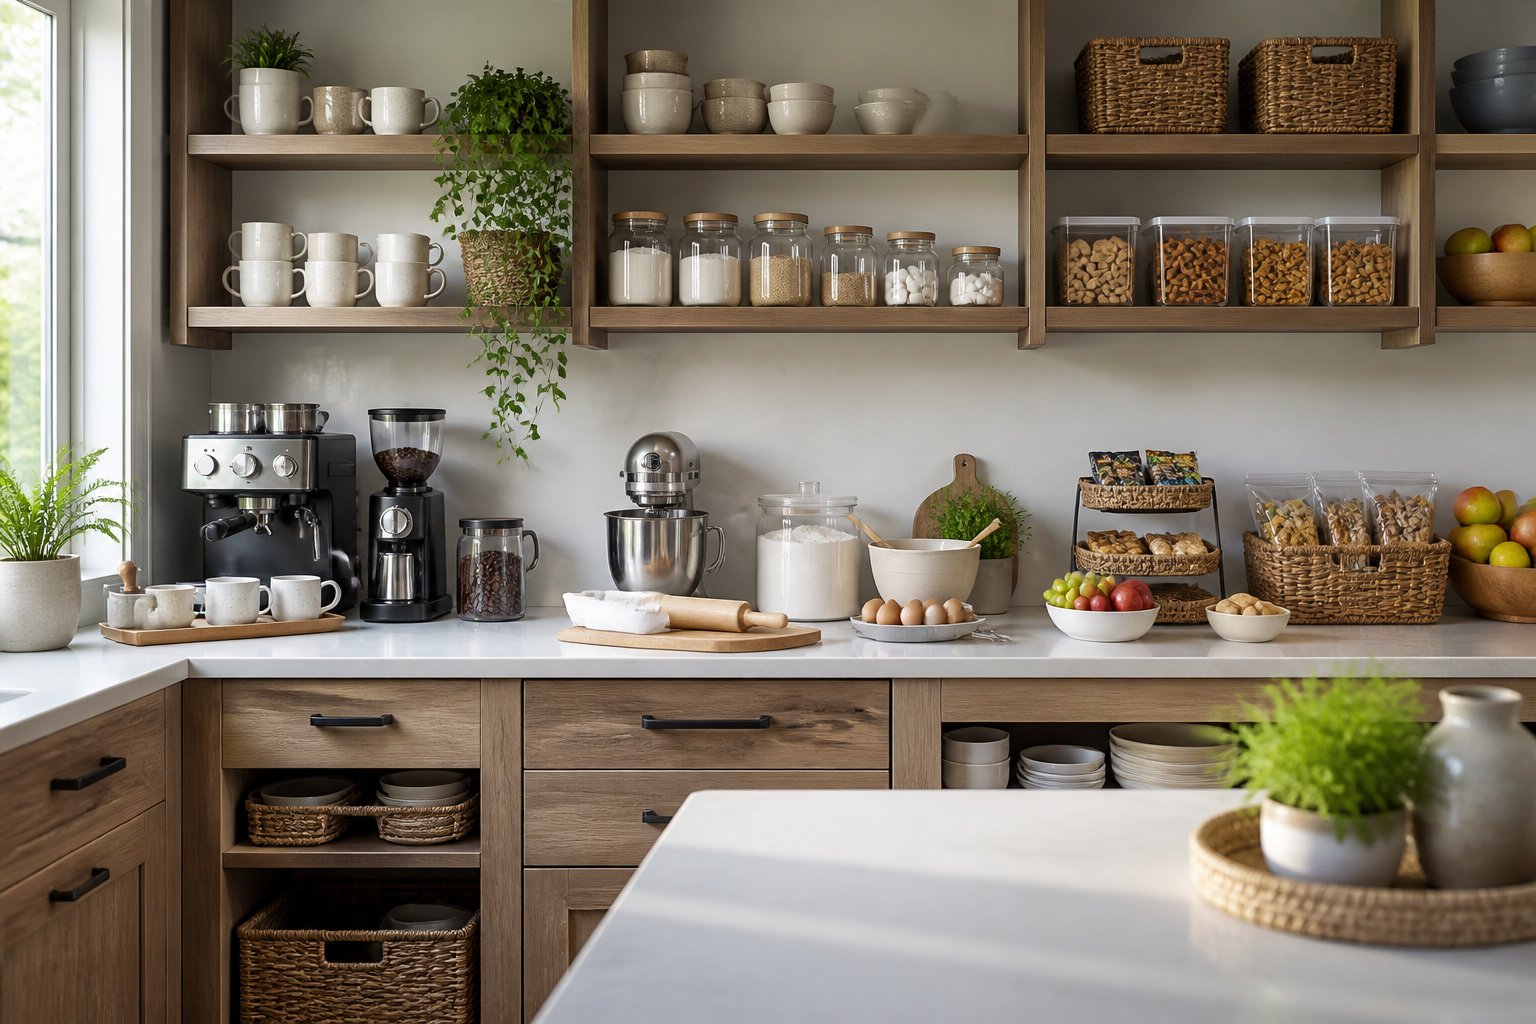
Kitchen zoning fixes that problem by giving each task its own home. A kitchen zone is a dedicated area where you store every tool and ingredient needed for one specific activity, so you can make coffee, bake a cake, or grab a snack without crossing the room three times. Coffee, baking, and snack stations are three of the easiest zones to build, and they work in small kitchens as well as large ones.
You don't need a remodel or a bigger footprint. With a clear plan for what goes where, you can turn existing cabinets and counter space into stations that match how your household actually cooks and eats.
Key Takeaways
- Mapping your daily habits helps you place each station where you already work.
- Stocking every zone with its own tools and supplies cuts down on unnecessary steps.
- Regular resets keep counters clear and each station ready to use.
Plan An Efficient Kitchen Workflow
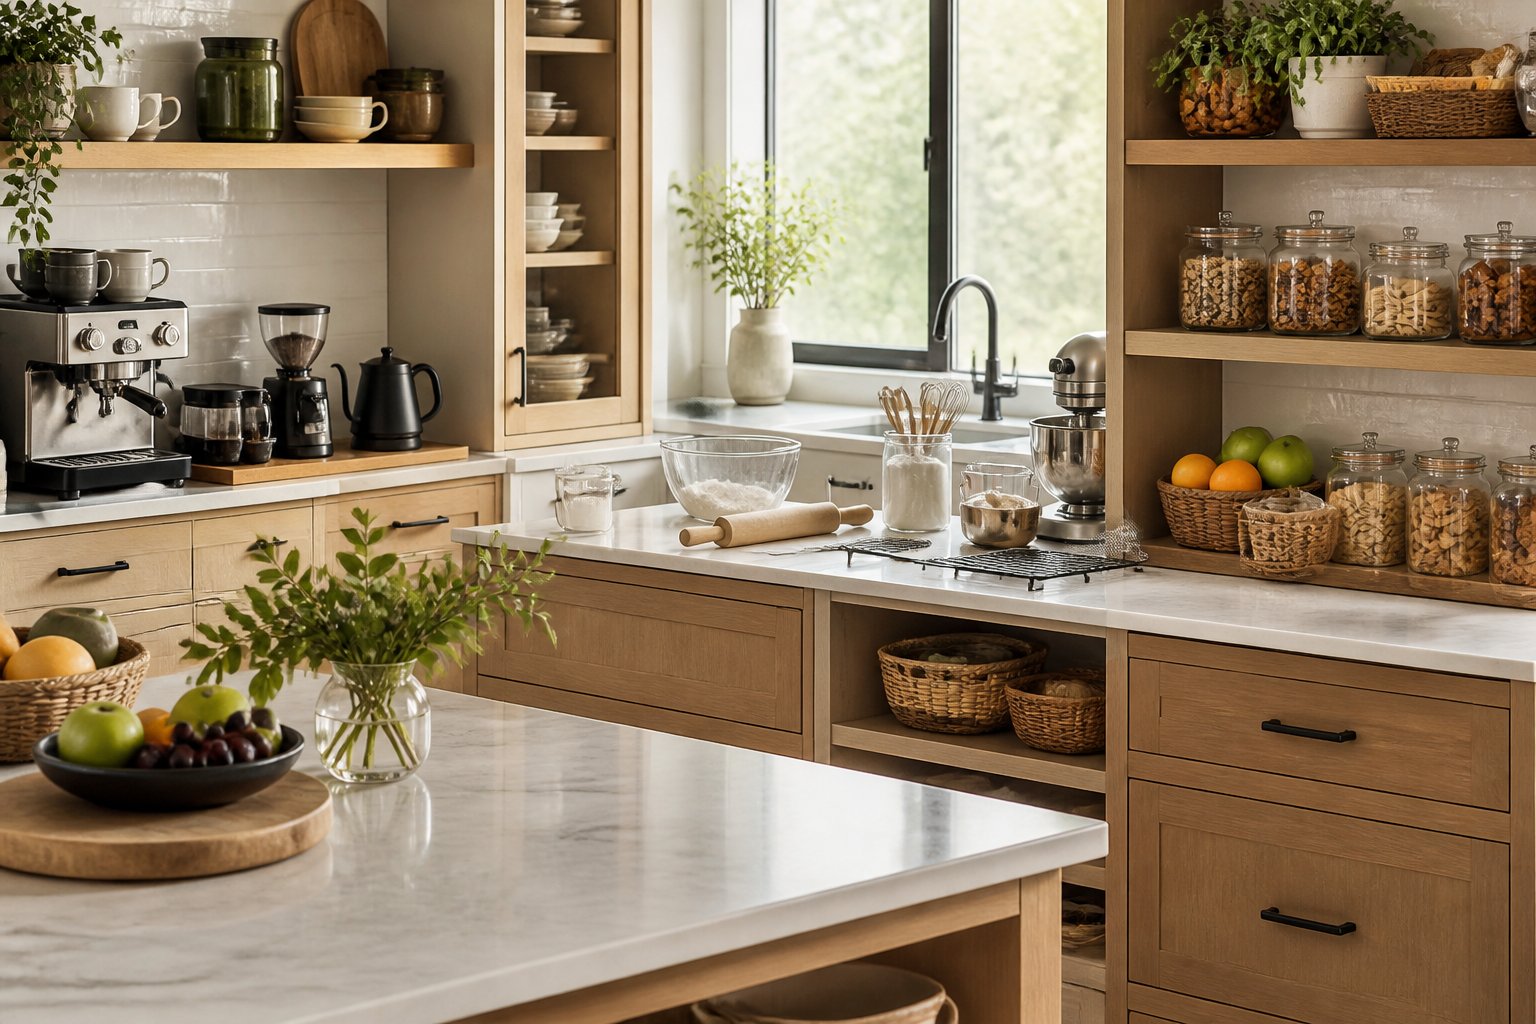
Before you build a coffee, baking, or snack station, you need to know where people already walk and which counters actually stay clear. You also need a storage plan that puts daily items at eye level and rarely used tools out of the way.
Assess Traffic Patterns And Available Surfaces
Stand in your kitchen and watch how people move through it. Note the path from the door to the fridge, and from the sink to the stove.
Those paths should stay open. Placing a coffee station in the middle of a walking lane means someone waiting for a pour will block the room.
Look for counter space that isn't already doing a job. Good candidates include:
- A corner counter near an outlet, ideal for a coffee maker or kettle
- A lower counter or island end for baking, since kneading is easier at 32–34 inches
- A low shelf or drawer near the fridge, so kids can reach snacks without crossing the cooking zone
Measure before you commit. A coffee station needs about 24 inches of width; a baking station works best with 30–36 inches of clear surface.
Assign Storage By Frequency Of Use
Sort items by how often you touch them, then match that to shelf height.
| How often you use it | Where it goes |
|---|---|
| Every day | Counter or first shelf, between hip and eye level |
| Weekly | Upper shelf or deep drawer nearby |
| A few times a year | Top cabinet, pantry back, or another room |
Keep everything for one task in one spot. Your baking station should hold flour, sugar, measuring cups, and the mixer together, so you aren't crossing the kitchen mid-recipe.
Store heavy items low. A 10-pound flour bin belongs in a base drawer, not overhead.
Use clear containers or labels for bulk goods. When you can see the coffee beans running low, you restock before you run out.
Equip And Maintain Dedicated Stations
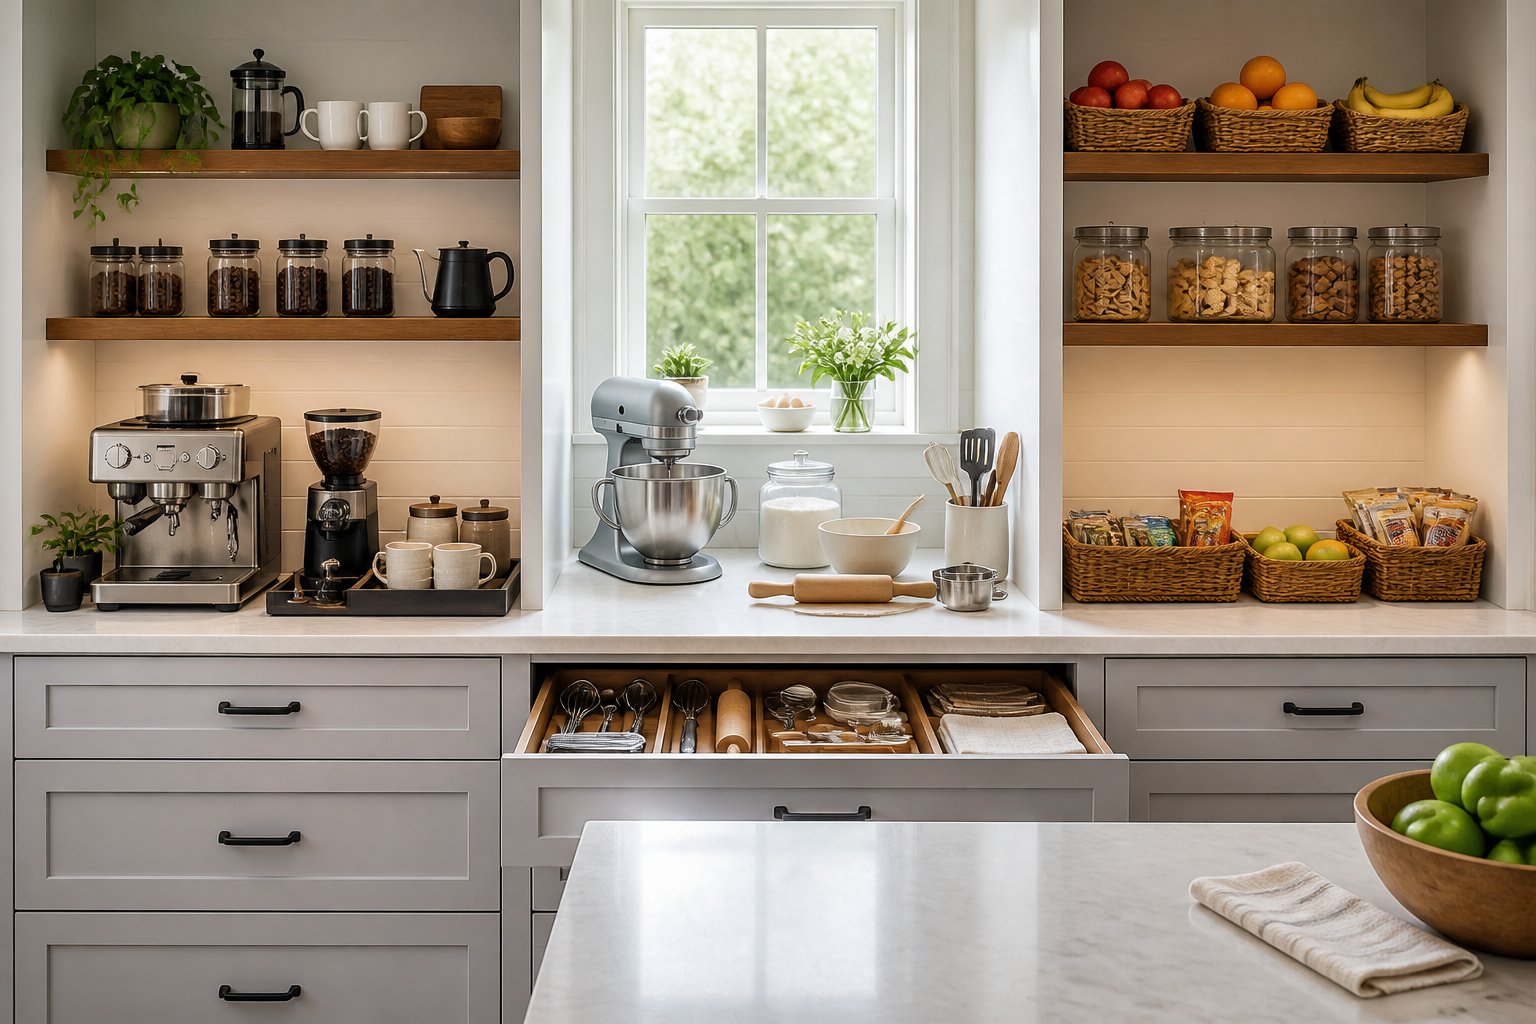
A station only works if the tools you need are within reach and the space gets reset after each use. Below are the specific items, storage choices, and cleaning habits that keep coffee, baking, and snack zones running smoothly.
Create A Practical Coffee Setup
Pick a spot near an outlet and, ideally, within a few steps of your sink.
Keep the machine, grinder, and kettle on the counter. Store mugs in the cabinet directly above and beans, filters, and sweeteners in a drawer below.
A few items make daily use easier:
- A small tray under the machine to catch drips and spills
- Airtight containers for beans, since ground coffee loses flavor within about two weeks
- A knock box or lined bin for grounds and used pods
Wipe the counter and empty the drip tray each morning. Descale drip machines and espresso makers every one to three months, depending on how hard your water is.
Organize Baking Tools And Ingredients
Baking needs a stable, roomy surface. Look for at least 30 inches of open counter, and place it away from your main cooking area so hot pans and mixing bowls don't compete for space.
Store the mixer where you can slide it out without lifting it over your head. A lower cabinet or a pull-out shelf works well.
| Item | Best Storage Spot |
|---|---|
| Flour, sugar, oats | Clear, labeled bins in a lower cabinet |
| Baking soda, powder, spices | Small drawer or shallow shelf at eye level |
| Sheet pans, cooling racks | Vertical dividers or a slim upright rack |
| Measuring cups, spatulas | Drawer near the work surface |
Check leaveners twice a year. Baking powder and soda lose strength after about six months once opened.
Design An Accessible Snack Area
Put this zone outside the cooking triangle so kids or guests can grab food without crossing your path at the stove.
A single lower drawer or a pantry shelf at hip height usually does the job.
Use open bins instead of stacked containers. Kids can see what's inside and put things back without help.
Add a small water pitcher and a few plastic cups on a nearby shelf so refills don't require the fridge.
Restock on the same day each week. Toss anything past its date and wipe the bins out monthly to catch crumbs and wrappers.
Frequently Asked Questions
Setting up zones raises practical questions about spacing, storage, and what to do when your kitchen is small. Below are answers about arranging the five core zones, stocking a coffee or baking station, and working around a tight footprint.
What are the main kitchen zones, and how should they be arranged?
Most kitchens work best with five zones: storage (pantry and fridge), prep, cooking, cleaning, and serving.
Arrange them in the order you actually use them. Groceries come in and go to storage, then move to prep, then to the cooktop, and finally to the table.
Keep the sink, fridge, and cooktop within a few steps of each other. This is the work triangle, and each leg should be roughly 4 to 9 feet.
Specialty stations for coffee, baking, and snacks sit outside that triangle on purpose. That way someone grabbing a mug isn't crossing paths with whoever is cooking.
How do I create an efficient coffee station in my kitchen?
Pick a spot near a water source but away from the cooktop and main prep counter. The end of a counter run, a sideboard, or a section of upper cabinets all work.
You need about 24 to 30 inches of counter width and an outlet. Check the clearance above your machine too, since many need 6 inches or more to lift the lid or refill the tank.
Store these items within arm's reach:
- Mugs and travel cups
- Coffee beans, grounds, or pods
- Filters and a scoop or scale
- Sugar, syrups, and stirrers
- A small tray for spills
Keep milk and creamer in the fridge, or add a compact under-counter refrigerator if you use the station daily.
What supplies and tools should be stored in a baking station?
Baking needs a stable, lower work surface. A standard 36-inch counter is fine, but a 30 to 32-inch surface makes kneading and rolling easier on your arms.
Group your tools by task in the cabinets and drawers right next to that surface:
| Category | What to store |
|---|---|
| Dry goods | Flour, sugar, baking soda, baking powder, cocoa |
| Measuring | Cups, spoons, kitchen scale |
| Mixing | Bowls, whisks, spatulas, hand or stand mixer |
| Bakeware | Sheet pans, cake pans, loaf pans, muffin tins |
| Finishing | Cooling racks, parchment, piping bags, decorating tips |
Store flour and sugar in airtight containers in a deep drawer. Sheet pans and cutting boards stand upright in a vertical divider, which saves you from digging through a stack.
Where is the best place to set up a snack station for easy access?
Put it near the edge of the kitchen where kids or guests can reach it without walking through the cooking area. A lower drawer, a pantry shelf at kid height, or a bottom cabinet all work well.
Pair a dry snack drawer with a matching fridge bin. Cheese sticks, yogurt, and cut fruit go in the bin; crackers, granola bars, and fruit cups go in the drawer.
Use shallow baskets instead of tall bins. Kids can see everything at once, which cuts down on rummaging.
If you have space, add a water pitcher and stack of cups nearby. That removes one more reason for someone to reach across your prep counter.
How should I organize kitchen cabinets and drawers by zone?
Store items where you first use them, not where they were made. Colanders and cutting boards belong near the sink. Pot holders and spatulas belong beside the range.
Follow these placement rules:
- Everyday items go between hip and eye level.
- Heavy items like stand mixers and stock pots go in lower drawers.
- Seasonal or rare items go on the top shelf or in a far cabinet.
Deep drawers hold more than lower cabinets and are easier to reach into. If you're renovating, choose drawers over doors below the counter.
Add drawer dividers so each zone stays separate. When utensils from three different tasks share one drawer, the system falls apart within a week.
How can I create kitchen zones when I have an island or limited counter space?
An island can hold a full zone on its own. Put prep on the side facing the cooktop and a snack or lunch-packing zone on the outer side, so traffic stays away from the stove.
In a small kitchen, build zones vertically instead of horizontally. A coffee setup fits on a rolling cart, a 15-inch cabinet, or a wall-mounted shelf with a magnetic knife bar below it for spoons.
Try these space-saving options:
- Convert one upper cabinet into an appliance garage with an outlet inside
- Use a pull-out shelf so the coffee maker slides forward to brew
- Set the baking station on a small table or cart you move as needed
- Stack a snack bin above the mug shelf so one cabinet serves two zones
You can also share space between zones on a schedule. The same counter can hold your mixer on weekend mornings and your coffee tray the rest of the week, as long as each has its own storage nearby.
Can one organizer work across multiple kitchen zones?
Yes, and it's one of the easiest ways to save space when zones overlap. A rotating countertop organizer keeps the tools and supplies for a zone together in one compact spot, then spins a full 360° so everything comes right to your hand — no reaching across the counter or digging through a drawer.