


Kitchen Countertop Decor: How to Style Your Counters Like a Pro
August 7, 2026
Your kitchen counters work harder than any other surface in your home. They hold your coffee maker, your mail, your groceries, and sometimes last night's dishes. So how do you make them look good without giving up the space you need to cook?
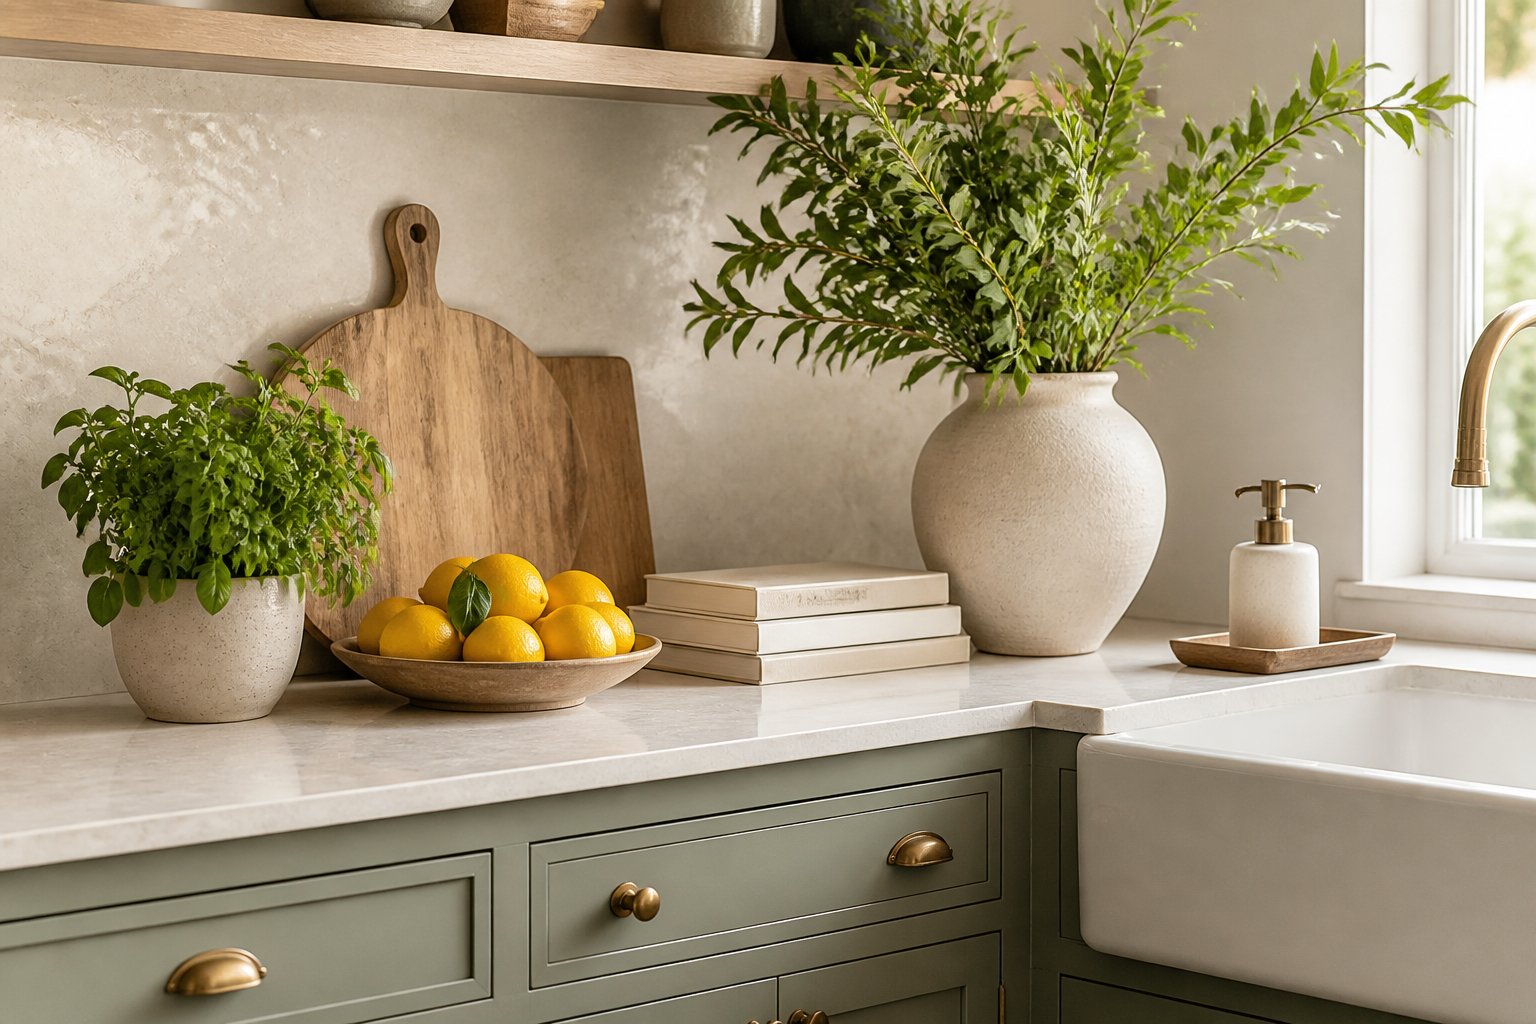
The trick is to keep only what you use daily, group the rest into small clusters of two or three items, and leave at least half of your counter space empty. That balance of function and style is what makes a kitchen feel finished instead of crowded.
You don't need new counters or a full renovation to get there. A few smart choices about trays, height, and placement can change how the whole room feels. Below, you'll find the rules designers follow, plus specific ideas for every counter zone in your kitchen.
Key Takeaways
- Good countertop styling starts with clearing everything off and adding back only what earns its place.
- Simple rules like grouping in odd numbers and varying heights make any arrangement look intentional.
- Each counter area, from the coffee station to the island, needs its own approach.
Core Principles of Countertop Styling
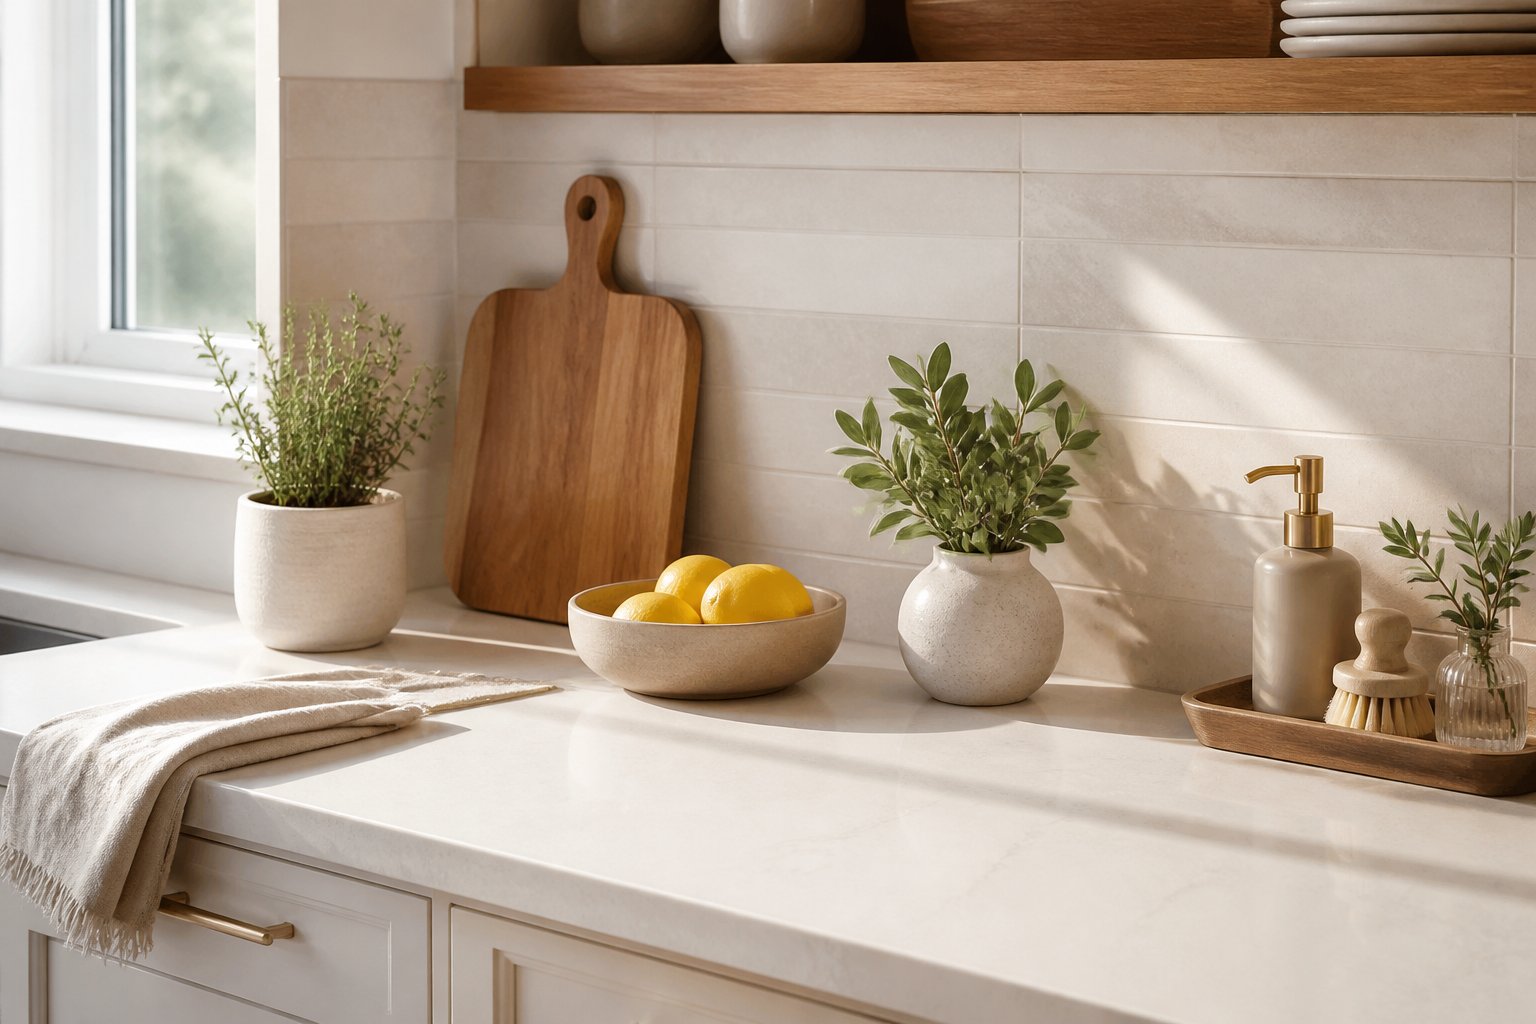
Good countertop decor comes down to three things: keeping your work zones open, arranging objects in varied heights and small clusters, and giving each stretch of counter one clear anchor. Get these right and the rest is just swapping out details by season.
Balance Function and Visual Appeal
Start by protecting your prep space. Most kitchens need at least 24 to 36 inches of clear counter beside the sink and stove, so decor belongs everywhere else.
The easiest fix is choosing items that do double duty. A wooden pedestal bowl holds lemons and adds height. A ceramic crock keeps your spatulas within reach.
Ask two questions about every item on your counter:
- Do you use it at least once a week?
- Does it look good sitting out?
If the answer to both is no, move it into a cabinet. Small appliances you only pull out for holidays don't earn permanent space.
Use Scale, Height, and Grouping
Objects look intentional when they vary in size. Aim for three heights in each grouping: something tall like a vase or oil bottle, something medium like a canister, and something low like a stack of two cookbooks or a small dish.
Group in odd numbers. Three items read as a collection, while two often look like a mistake.
Keep clusters tight. Items within a group should sit close enough to touch or nearly touch, then leave real breathing room before the next group starts.
Watch your proportions against the space above. A 6-inch vase looks lost under an 8-foot ceiling, while a 20-inch branch arrangement can crowd upper cabinets.
Create Intentional Focal Points
Pick one spot per counter run to draw the eye. On an island, that's usually the center. Along a back wall, it's often the space between two windows or beside the range.
Your focal point should be the tallest or most colorful thing in view. A large bowl of green apples, a bundle of eucalyptus in a stoneware pitcher, or a single piece of art on a small easel all work.
Everything else stays quieter. Keep secondary items lower and in similar tones so they support the anchor instead of competing with it.
Trays help here too. Setting your coffee gear or oils on a single tray turns scattered items into one contained unit.
Decorating Each Counter Zone
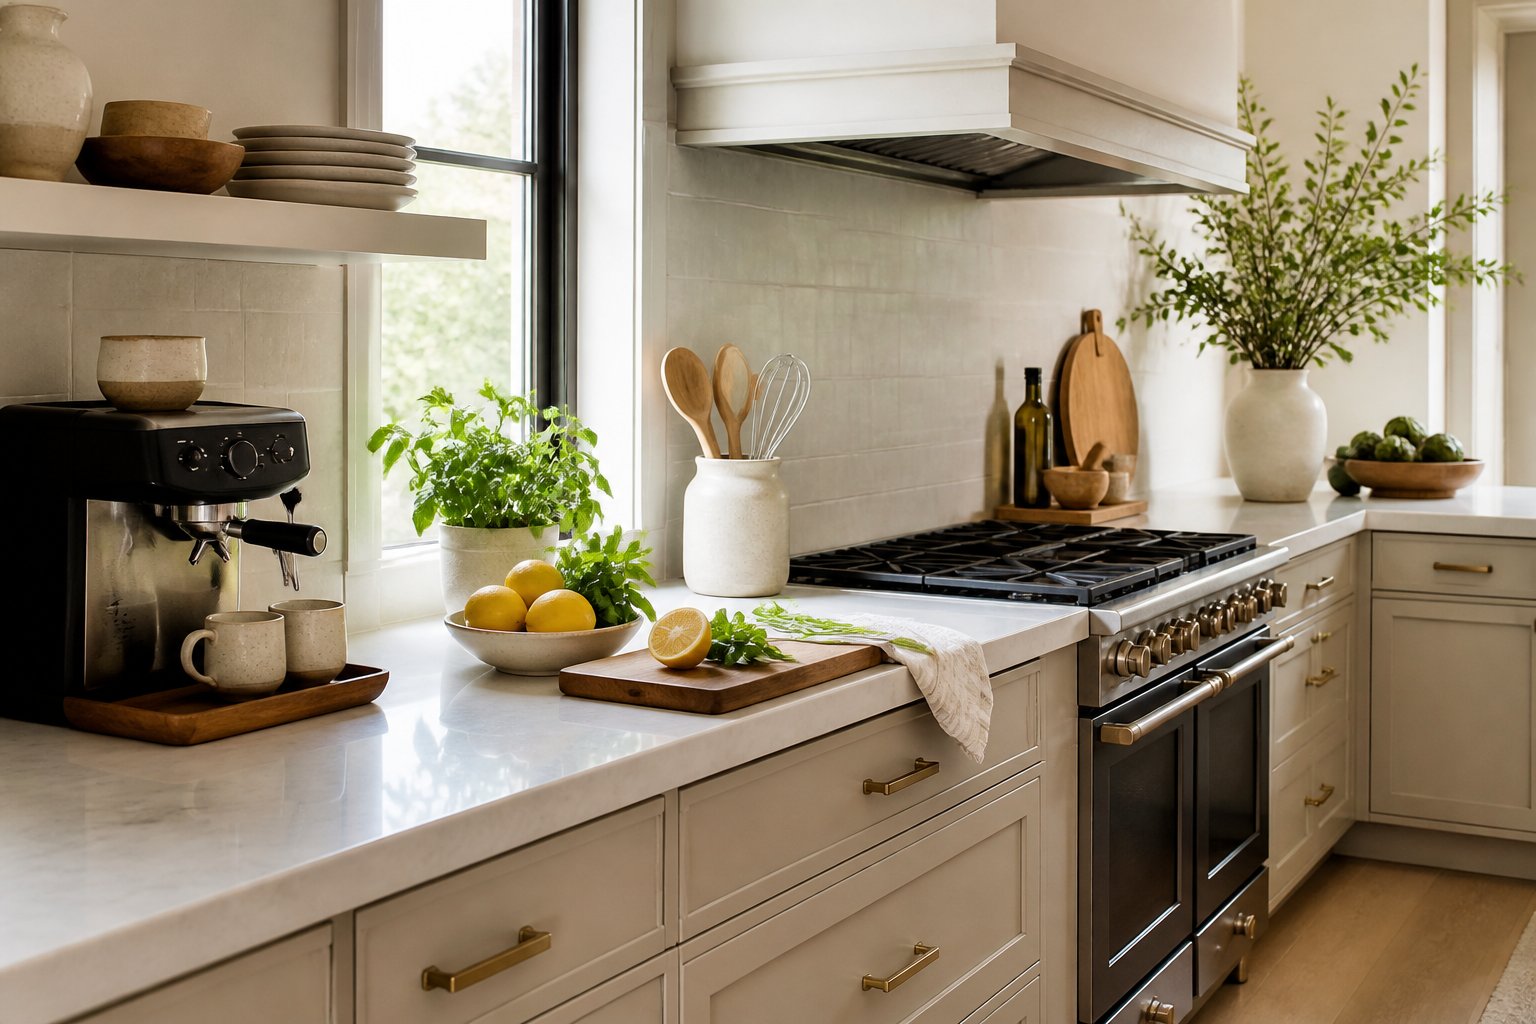
Your kitchen counters aren't one big surface — they're several small work areas, and each one needs a different mix of items. Treating the sink, stove, island, and eating areas as separate zones helps you keep tools within reach while leaving room to actually cook.
Style the Sink Area
The sink zone works hardest, so start with the items you use daily.
A small tray corrals the soap dispenser, hand lotion, and a scrub brush. Trays matter here because they stop small bottles from scattering across the counter.
Swap plastic pump bottles for glass or ceramic ones. It's a low-cost change that makes the whole area look more finished.
Keep dish towels on a hook or folded over the sink edge rather than in a heap. Choose two in coordinating colors and rotate them.
A dish drying rack is the one bulky item most sink zones can't avoid — so choose one that looks intentional. A countertop standing rack in a clean, neutral finish reads as part of the decor rather than an eyesore, and keeping it to one side of the sink preserves your prep space. Pick a finish that echoes your other accessories, like cream or pale wood, so it blends into the zone instead of breaking it up.
What works well by the sink:
- Soap and lotion in matching dispensers
- A stoneware crock for brushes and sponges
- One small potted herb or trailing plant
- A wood or marble tray as a base
- A countertop dish drying rack in a finish that matches your accessories
Skip anything that can't handle splashes. Paper, unsealed wood, and fabric-covered items don't last long in a wet zone.
Arrange the Cooking Zone
Near the stove, function comes first. You need clear space on both sides of the range for hot pans and prep bowls.
A crock or a rotating countertop organizer holding your wooden spoons, whisk, and tongs keeps your most-used tools upright and reachable. We like a rotating organizer here because it does more than one job — the upright section stands your utensils, while the built-in spice containers and condiment caddy at the base keep seasonings close without cluttering the counter with loose jars. A quick spin brings whatever you need to your hand. Place it to one side, not directly behind a burner where grease collects.
Salt in a small covered cellar and a pepper mill can stay out. So can a single bottle of olive oil, ideally in a dark glass or tin container that protects it from light.
Store spices in a drawer or cabinet instead of on the counter. Heat and light shorten their shelf life, and rows of jars quickly read as clutter.
Leave at least 15 to 18 inches of open counter beside the stove. That's the space you'll use for landing hot cookware.
Refresh Islands and Breakfast Bars
Islands give you room for a real centerpiece, but the rule is to fill roughly one-third of the surface and leave the rest open.
Try a low arrangement instead of a tall one. A wide bowl of lemons, a shallow basket of eucalyptus, or a wooden dough bowl with pinecones all sit below eye level so people can talk across the island.
Group items in odd numbers — three is the easiest to pull off. Vary the heights: a stack of two cookbooks, a candle, and a small vase creates a simple grouping.
For breakfast bars, keep the surface nearly empty. A single bud vase or a napkin holder at one end is enough, since diners need elbow room and space for plates.
If your island has a sink or cooktop, treat those sections as their own zones and keep decor on the opposite end.
Choose Materials, Colors, and Seasonal Accents
Repeat two or three materials across your counters so the zones feel connected. Wood, stoneware, glass, and woven baskets mix well and read as warm against stone or quartz.
Pull one or two accent colors from something already in the room — your backsplash tile, a rug, or your dishware. Limiting the palette keeps the counters from looking busy.
| Season | Easy accent swap |
|---|---|
| Spring | Tulips in a glass jar, green apples |
| Summer | Lemons or limes in a bowl, fresh basil |
| Fall | Small pumpkins, pears, amber glass |
| Winter | Evergreen clippings, citrus, a white candle |
Change out just the produce, flowers, and one textile each season. Keep the trays, crocks, and cutting boards the same year-round so you're not storing extra decor.
Frequently Asked Questions
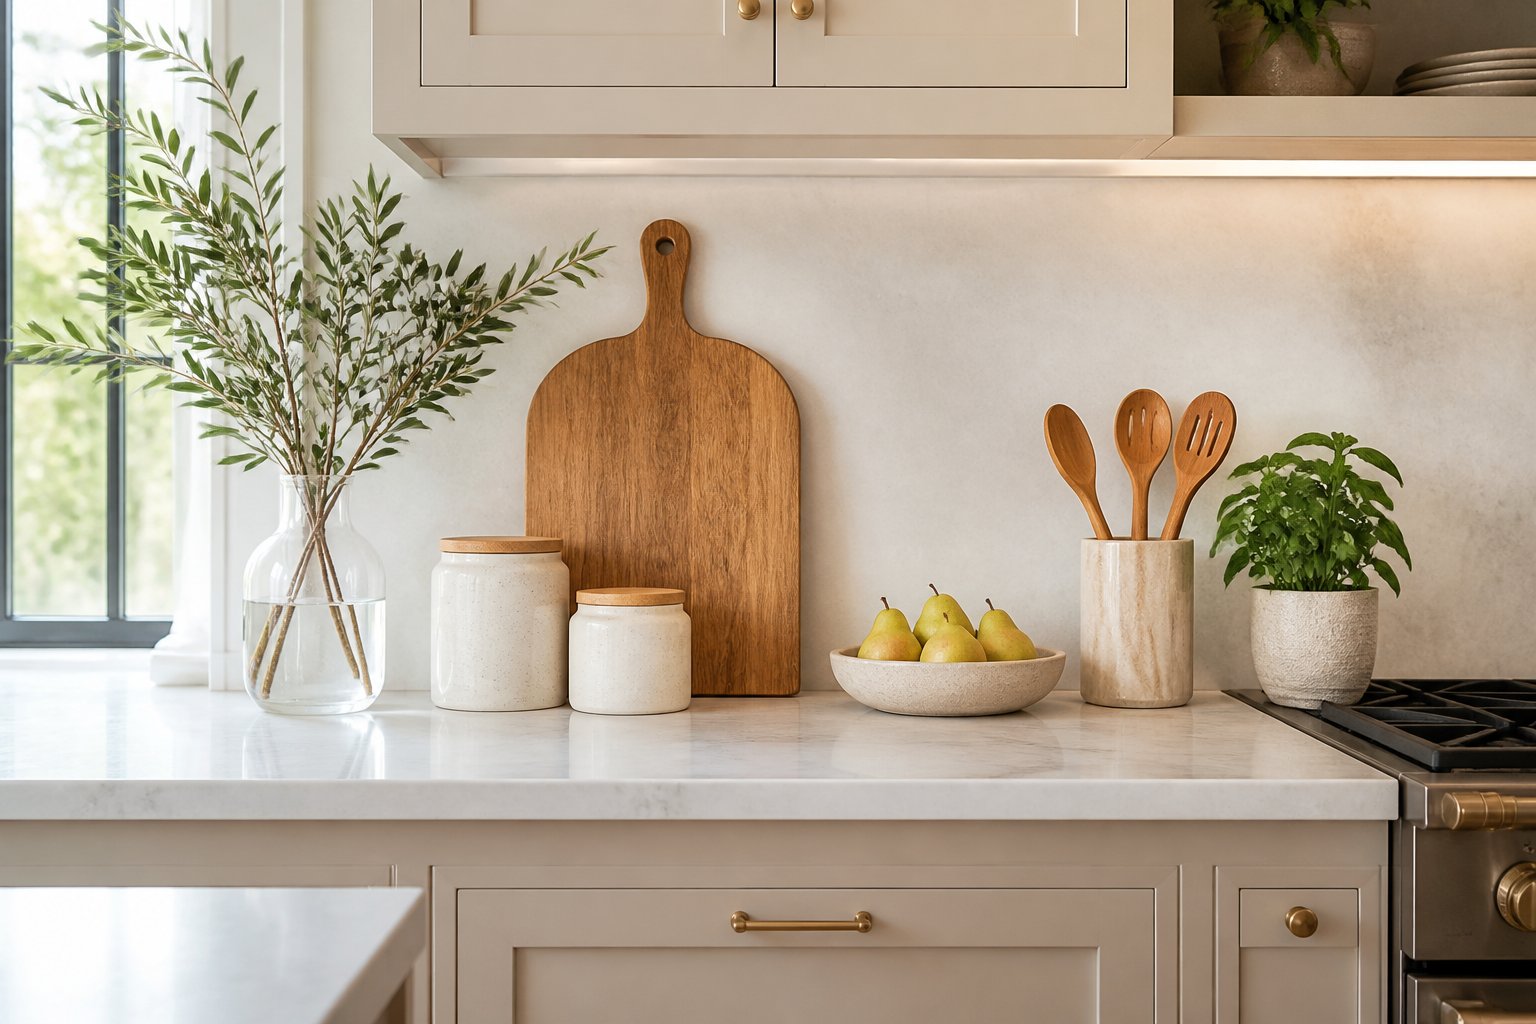
Styling counters comes down to a few repeatable rules: limit how much surface you cover, group items in odd numbers, and keep daily-use tools within reach. Below are answers to the questions that come up most often when planning countertop decor.
How can I decorate kitchen countertops without making them look cluttered?
Start by clearing everything off. Then put back only what you use several times a week, like a knife block, a coffee maker, or a utensil crock next to the stove.
A good target is leaving about two-thirds of your counter space open. That gives you room to chop vegetables, set down grocery bags, and roll out dough.
Group small items on a tray or cutting board instead of spreading them out. A wooden board holding salt, pepper, and a small oil bottle reads as one object rather than three.
Also, vary the height. Pair a tall item like a vase with something short and wide, such as a fruit bowl, so your eye has somewhere to rest.
What are the best countertop decor ideas for a small kitchen?
In a small kitchen, pick decor that does a job. A ceramic crock holds wooden spoons, a covered jar stores coffee beans, and a small bowl catches keys or garlic.
Choose one focal point per counter run. That might be a single plant near the sink or a stack of two cookbooks in a corner.
Use vertical space so the counter stays clear. Wall-mounted knife strips, a hanging rail for mugs, or a narrow shelf above the backsplash all free up room.
Light-colored accessories help small spaces feel more open. Cream, pale wood, and clear glass blend into most backsplashes instead of breaking up the sightline.
Which items should be displayed on kitchen counters for a stylish, functional look?
Focus on pieces you reach for and that look good doing their job:
- A wooden cutting board propped against the backsplash adds warmth and stays ready for use.
- A bowl of fruit — lemons, apples, or oranges — brings color that changes with the season.
- Canisters for flour, sugar, coffee, or tea in matching materials like glass or stoneware.
- A small plant or herb pot, such as basil or rosemary near a window.
- A quality pepper mill or salt cellar close to your cooking zone.
- One or two cookbooks stacked flat, with a favorite on top.
Skip anything purely decorative that collects grease or dust, like fabric items or open baskets near the stove.
How do I style modern kitchen countertops with minimal decor?
Modern kitchens usually rely on clean lines and open surface area. Limit yourself to two or three objects per counter section and keep them in the same material family, such as matte black, stainless steel, or unglazed ceramic.
Pick shapes with simple silhouettes. A cylindrical vase, a rectangular tray, or a smooth stone mortar fits better than something highly detailed.
Store small appliances in an appliance garage or lower cabinet. Leaving only the espresso machine or a single stand mixer out keeps the look deliberate.
One natural element prevents the space from feeling cold. A branch in a tall vase or a single potted plant works well against flat-panel cabinets and quartz surfaces.
What countertop decor works best for different kitchen styles?
Match your accessories to the finishes already in the room:
| Kitchen Style | Countertop Decor That Fits |
|---|---|
| Farmhouse | Enamel pitchers, woven bread baskets, stoneware crocks, wooden bowls |
| Modern | Matte ceramic canisters, glass containers, geometric trays, a single sculptural piece |
| Traditional | Brass or copper accents, footed cake stands, china bowls, framed art on a small easel |
| Coastal | Blue-and-white pottery, clear glass jars, light wood boards, a bowl of citrus |
| Industrial | Metal canisters, concrete planters, dark wood boards, exposed utensil racks |
You don't have to follow these lists exactly. Mixing one unexpected piece, like a handmade pottery bowl in a modern kitchen, adds personality without breaking the overall style.
How can I create a cohesive look between countertop decor and kitchen cabinets?
Pull one or two colors from your cabinets and repeat them in your accessories. If you have navy lower cabinets, a navy-striped dish towel or blue ceramic bowl ties the two together.
Metal finishes matter just as much. If your cabinet hardware is brushed brass, choose a brass utensil holder or a soap dispenser with a brass pump instead of chrome.
Consider contrast when your cabinets are very dark or very light. White countertop accessories stand out against black cabinets, while wood and terracotta pieces add depth against all-white cabinetry.
Keep the wood tones close but not identical. A cutting board in a similar warmth to your open shelving looks intentional, even if the grain doesn't match exactly.