


How to Create “Content-Ready” Corners in Your Home
May 15, 2026
Creating content-ready corners in your home means setting up small spaces that look good on camera and work well for photos or videos. These spots don't require a full room makeover or expensive equipment. You just need to think about what makes a space look clean, bright, and interesting on screen.
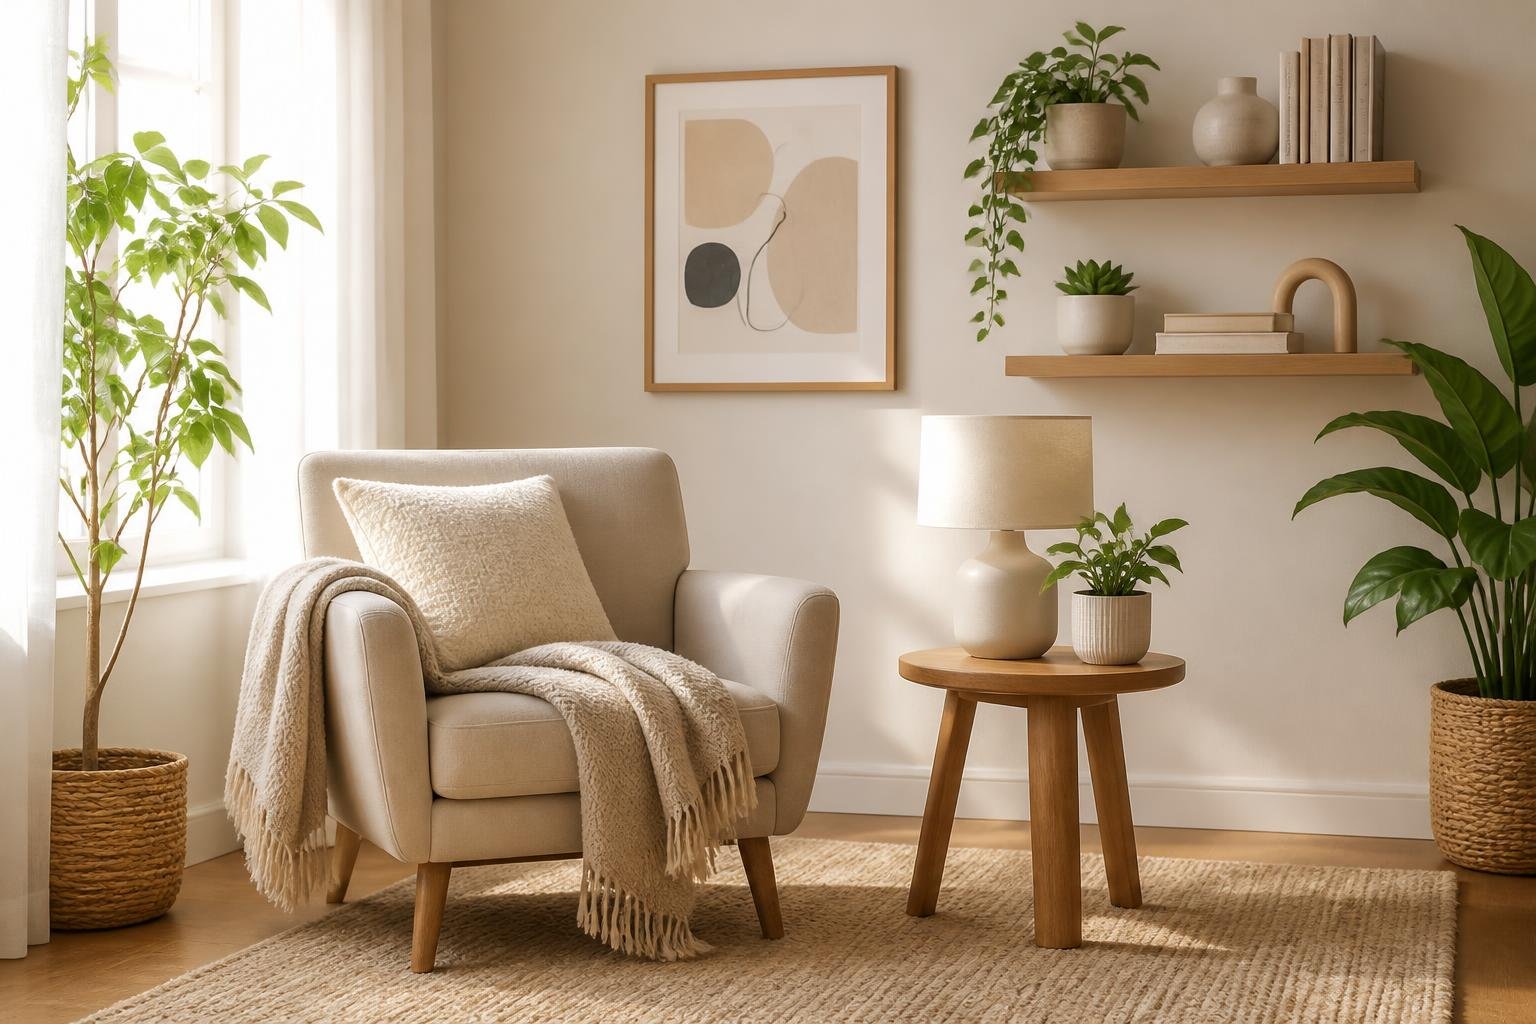
The key to a content-ready corner is combining good lighting, a simple background, and items that fit your style while staying functional for everyday use. Your space should work for both creating content and living your normal life. This approach saves money and keeps your home feeling natural instead of like a studio.
You can transform any corner of your home into a content-ready spot by following some basic design rules. The right setup will make taking photos and videos easier while keeping your space comfortable. Whether you work with a desk area, a cozy reading nook, or a kitchen counter, these principles apply to any room in your house.
Fundamental Principles of Functional Corners
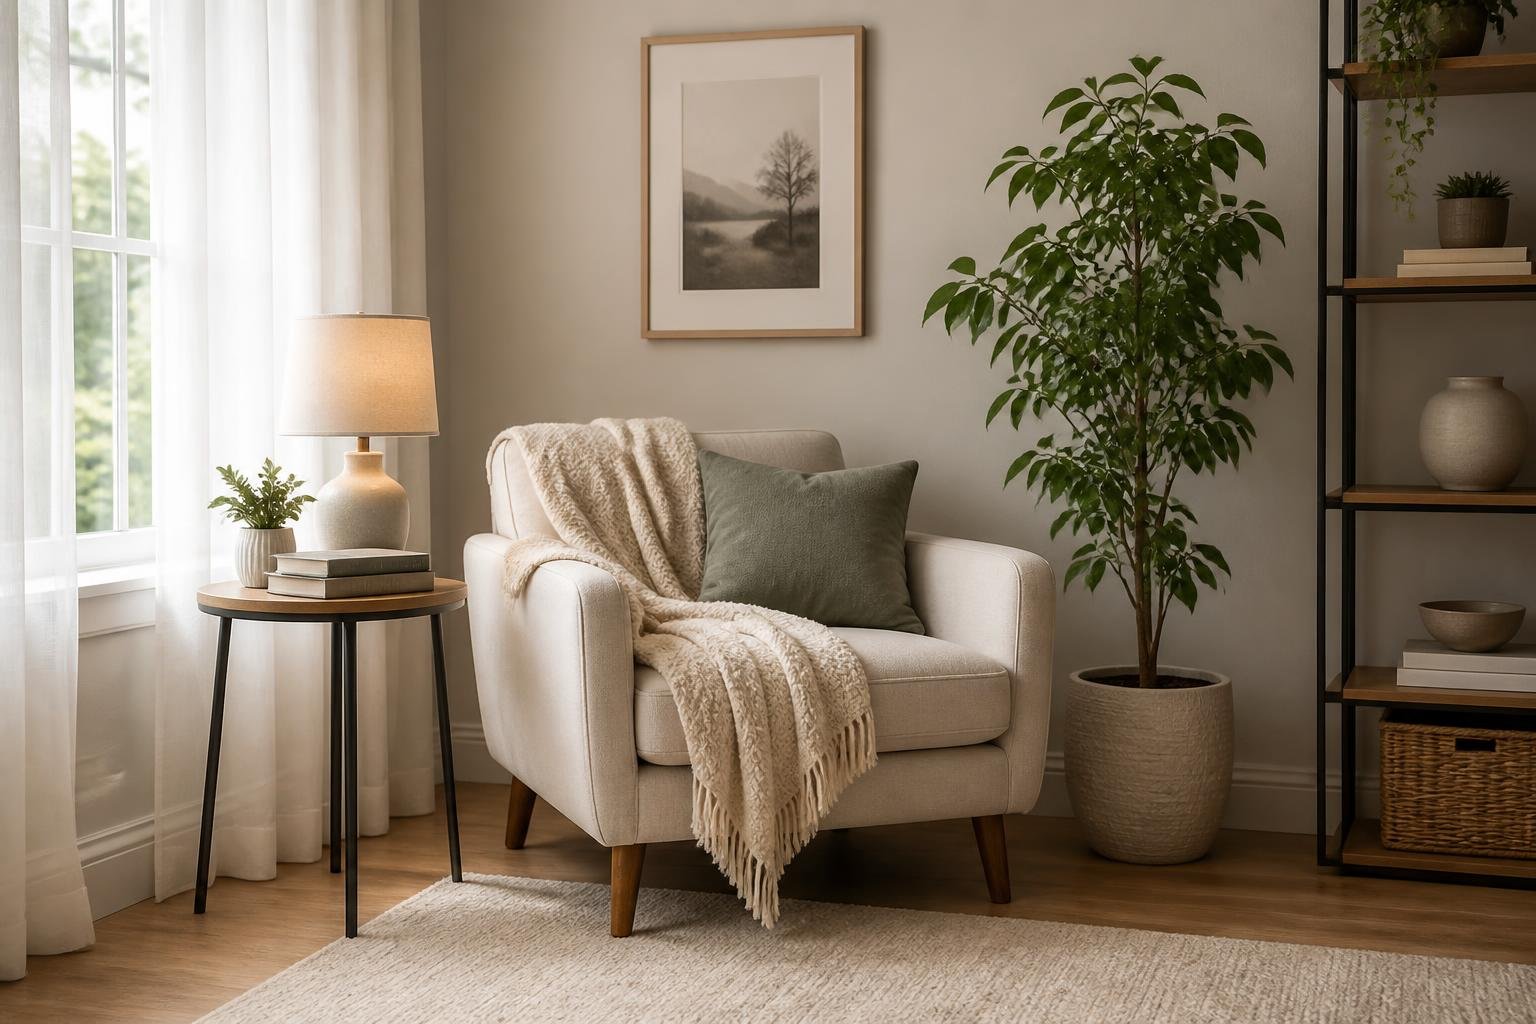
The most effective content-ready corners combine three core elements: strategic location selection, flexible design that adapts to multiple needs, and a careful balance between visual appeal and practical use.
Identifying High-Impact Spaces
Look for areas in your home that receive consistent natural light throughout the day. Windows facing east provide morning light, while south-facing windows offer steady illumination that works well for most content types.
Corners near power outlets save you from dealing with extension cords running across your floor. You need easy access to electricity for lighting equipment, phones, cameras, and laptops.
Key spots to evaluate:
- Living room corners adjacent to windows
- Bedroom areas with neutral wall colors
- Kitchen nooks with good overhead lighting
- Entryways with architectural interest
Pay attention to background elements. A corner with a plain wall lets you control your backdrop completely. Areas with built-in shelving or interesting textures give you ready-made visual depth.
Traffic flow matters more than you might think. Avoid corners where people constantly walk through your frame or block your light sources.
Prioritizing Versatility and Accessibility
Design your corner to serve multiple content types without requiring a complete setup change each time. A simple desk can transform from a workspace for productivity content to a product photography station to a video recording area.
Use furniture pieces that move easily. Lightweight chairs, rolling carts, and modular shelving units let you reconfigure your space in minutes instead of hours.
Store your equipment within arm's reach. A small cart or shelf system next to your content corner keeps cameras, ring lights, props, and backdrops accessible. This setup eliminates the excuse of "it takes too long to get everything ready."
Consider investing in dual-purpose items. A clothing rack serves as both storage and a backdrop element. Stackable storage boxes become props or risers when needed.
Balancing Form and Function
Your content corner must look good on camera while remaining practical for daily use. Start with a neutral base color scheme that photographs well, then add pops of color through removable items like pillows, plants, or art prints.
Choose surfaces that resist scratches and stains. A wooden desk with a protective finish handles product photography better than unfinished materials that show every mark.
Install appropriate lighting that serves both your content needs and regular activities. A dimmable overhead light combined with a ring light or softbox gives you control without making the space feel like a studio when you're not filming.
Keep cables organized with clips, sleeves, or boxes. Messy wires ruin otherwise perfect shots and create safety hazards in your home.
Design Strategies for Display and Use
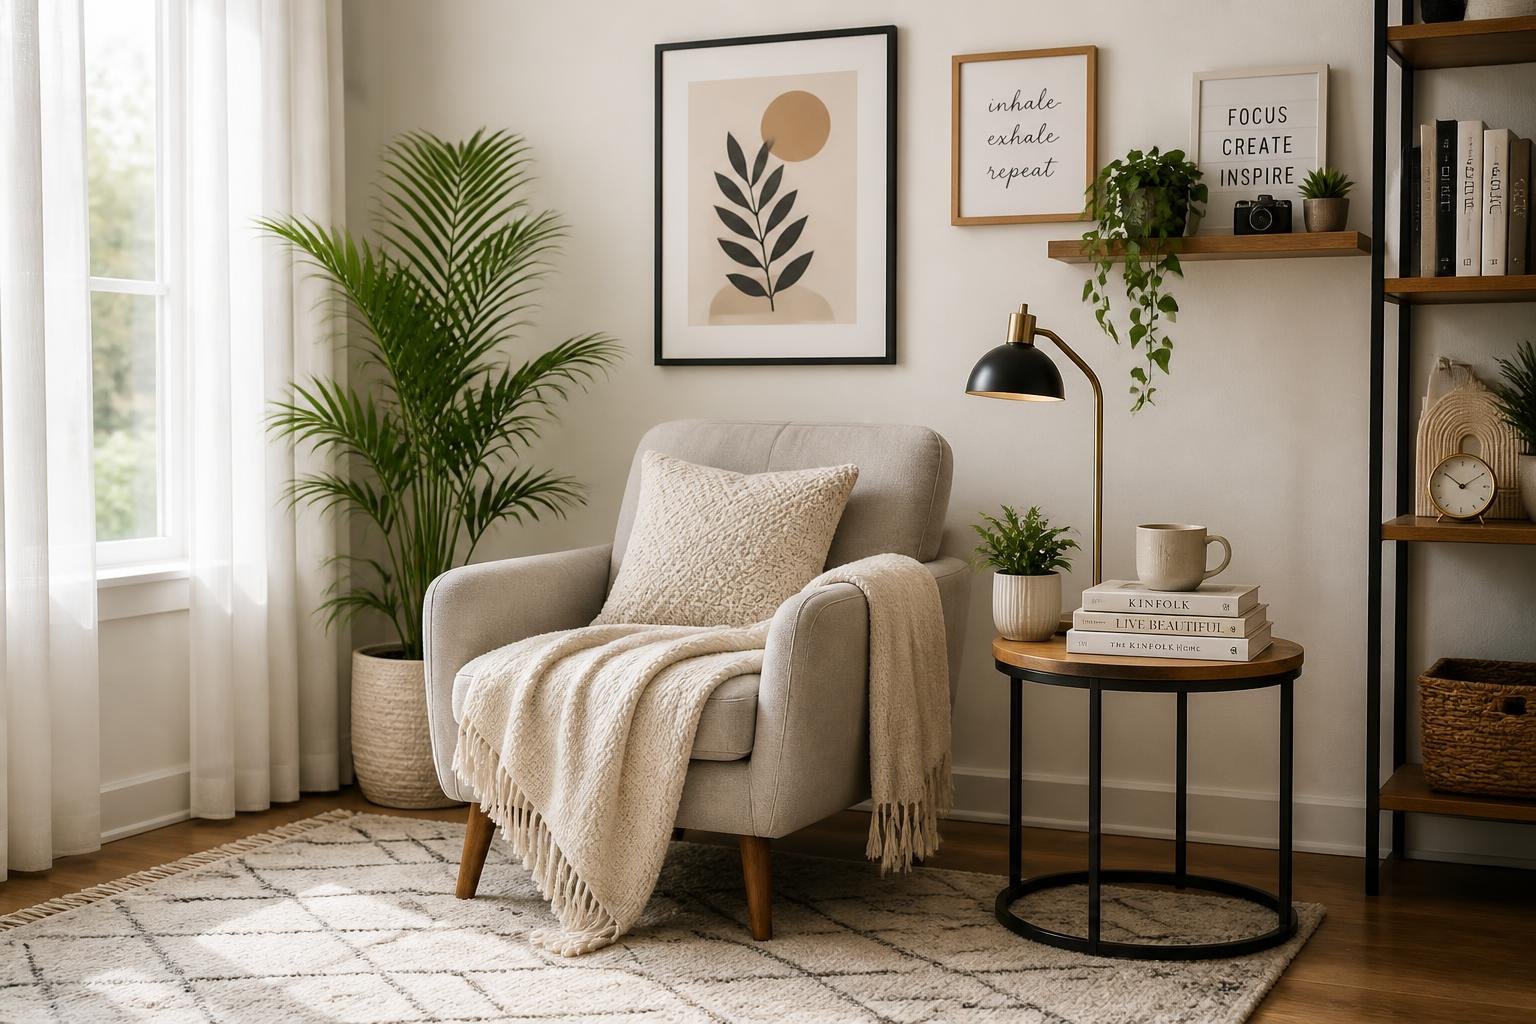
Smart storage keeps surfaces clean while good lighting makes everything look better on camera. The right fabrics and decorations add depth without creating clutter.
Incorporating Smart Storage Solutions
Hidden storage is your best friend when creating content-ready corners. Use furniture pieces that do double duty, like ottomans with storage inside or coffee tables with drawers. This keeps your filming area clear while giving you quick access to props and equipment.
Floating shelves work well because you can style them for photos but also store items you need often. Keep everyday items in matching baskets or boxes so they look good in the background. Leave some shelf space empty so your corner doesn't look crowded on camera.
Storage options that work best:
- Wall-mounted cabinets with clean fronts
- Rolling carts that you can move out of frame
- Clear acrylic organizers for small items
- Drawer dividers to keep props organized
Keep the items you use most in the easiest spots to reach. Store backup supplies and seasonal decorations in closets or other rooms. Your content corner should only hold what you actually use regularly.
Leveraging Lighting Techniques
Natural light from windows gives the most flattering results for photos and videos. Position your content corner near a window but avoid direct sunlight, which creates harsh shadows. North-facing windows provide steady light throughout the day.
Add artificial lights to fill in shadows and make your space usable at any time. Ring lights work well for close-up shots and product photography. LED panel lights give you adjustable brightness and color temperature. Place lights at different heights to avoid flat, boring lighting.
Use three-point lighting when you need professional results. Put your main light to one side, a fill light on the other side to soften shadows, and a back light behind your subject. This creates dimension and makes everything look more polished.
Choosing Textiles and Accessories
Pick neutral base colors for larger textiles like curtains, rugs, and chair covers. Beige, gray, white, and cream work with many different themes. You can swap out smaller accessories to change the mood without replacing expensive items.
Layer different textures to add visual interest. Combine smooth surfaces with rough ones, like a velvet pillow on a linen chair or a wool throw on a leather ottoman. This creates depth that looks good both in person and on camera.
Accessories to keep on hand:
- Throw pillows in 2-3 coordinating colors
- Blankets in different weights and textures
- Small plants (real or high-quality fake)
- Books with attractive covers
- Ceramic or wooden decorative objects
Rotate accessories between shoots to keep your content fresh. Store extras in clear bins so you can see what you have. Stick to a consistent color palette so everything works together when you mix and match.
Frequently Asked Questions
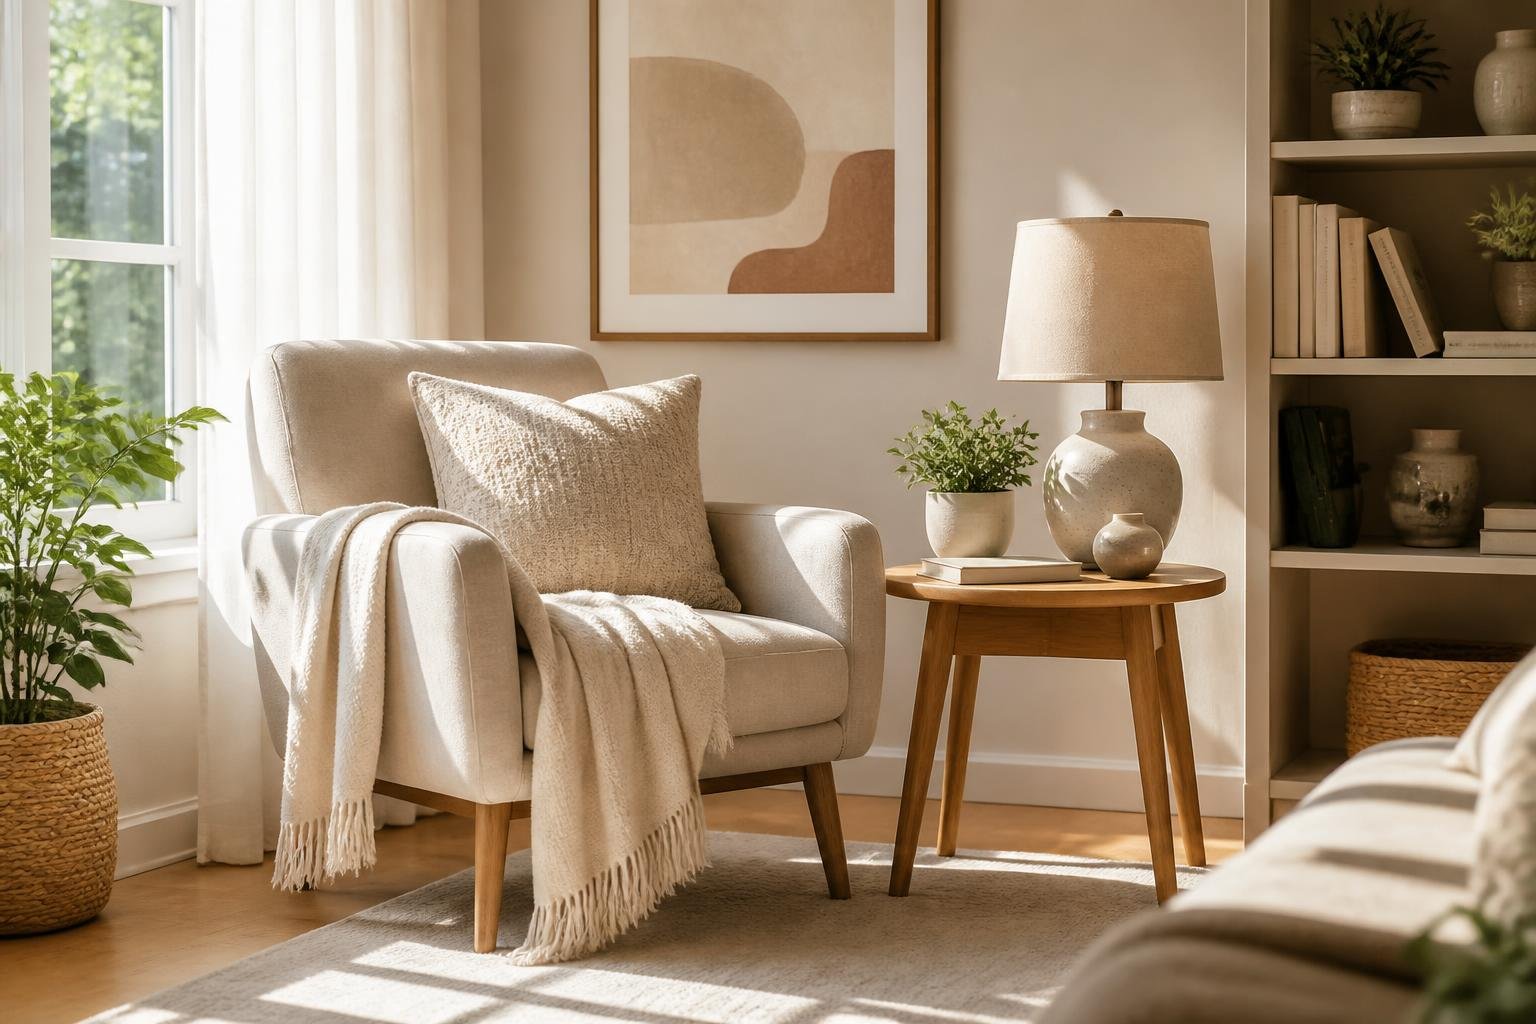
A content-ready corner needs intentional styling, proper lighting, and smart organization. Understanding basic design principles and practical maintenance strategies helps you create spaces that photograph well consistently.
What are the key elements that make a corner look intentional and camera-ready?
A content-ready corner needs three basic elements: a clear focal point, balanced composition, and appropriate scale. Your focal point might be a styled desk, a reading chair, or a plant display that draws the eye first.
Balanced composition means arranging items so no single side feels too heavy or empty. You want visual weight distributed evenly across the space.
Scale matters because oversized items in a small corner look cramped, while tiny objects get lost in a large space. Each piece should fit the dimensions of your corner without overwhelming it.
How do you choose lighting that looks flattering in photos and video without harsh shadows?
Natural light from a window provides the most flattering illumination for content. Position your corner perpendicular to the window so light hits your subject from the side rather than directly behind or in front.
For artificial lighting, choose bulbs with a color temperature between 3000K and 4000K. This range produces warm, natural-looking light that mimics daylight.
Avoid overhead lighting alone because it creates harsh shadows under the chin and eyes. Add a secondary light source at eye level or slightly above to fill in shadows and create even illumination.
What is the 3-4-5 rule in decorating, and how can it be applied to styling a small nook?
The 3-4-5 rule suggests using three colors, four textures, and five accessories in a styled space. This formula creates visual interest without overwhelming a small area.
Your three colors should include one dominant shade, one secondary color, and one accent. These might be white walls, natural wood tones, and green plants.
Four textures could include smooth ceramic, woven baskets, soft fabric, and rough wood. Five accessories might be books, a vase, a candle, a small plant, and a decorative box.
What is the 2-3 rule for living rooms, and how can it guide furniture and decor grouping in a tight space?
The 2-3 rule states that you should arrange furniture and decor in groups of two or three items rather than single pieces or even numbers above three. Odd groupings look more natural and less formal to the eye.
In a tight corner, this might mean pairing two chairs together or grouping three small plants on a shelf. You can stack two books with a small object on top, or cluster three frames of different sizes on a wall.
This rule helps you avoid the common mistake of spacing items too evenly or symmetrically. Grouped items create visual anchors that make your corner look purposefully styled.
Which props and textures add depth on camera without making the space feel cluttered?
Layered textures create depth in photos better than multiple small objects. A chunky knit throw, linen cushions, and a jute rug add dimension without taking up much visual space.
Books work well as both props and risers for elevating other items. You can stack them horizontally to add height or stand them vertically as backdrop elements.
Natural elements like dried branches, pampas grass, or potted plants add organic texture. These items photograph well and fill vertical space without cluttering horizontal surfaces.
Mirrors and reflective surfaces bounce light around and make corners appear larger on camera. A small mirror propped on a shelf or hung on the wall expands the perceived space.
How can you maintain a styled corner so it stays presentable with minimal daily effort?
Choose a designated home for each item in your corner so you can quickly reset the space after use. Take a reference photo of your styled corner and keep it on your phone for easy reference.
Limit the number of items you need to rearrange daily. Keep permanent pieces like furniture and large plants in place, and only adjust smaller props as needed.
Dust and tidy your corner once per week rather than daily. This regular maintenance prevents buildup and keeps your space camera-ready with minimal effort.
Store backup props in a nearby basket or drawer so you can quickly swap items when you want a fresh look. Having options within reach makes restyling faster and easier.